사용자 상호작용: 이벤트 핸들링 완벽 가이드
리액트의 합성 이벤트 (Synthetic Event)
리액트는 브라우저 간의 이벤트 차이를 없애고 일관된 동작을 보장하기 위해 브라우저의 기본 이벤트를 감싼 합성 이벤트 객체(e)를 전달합니다.
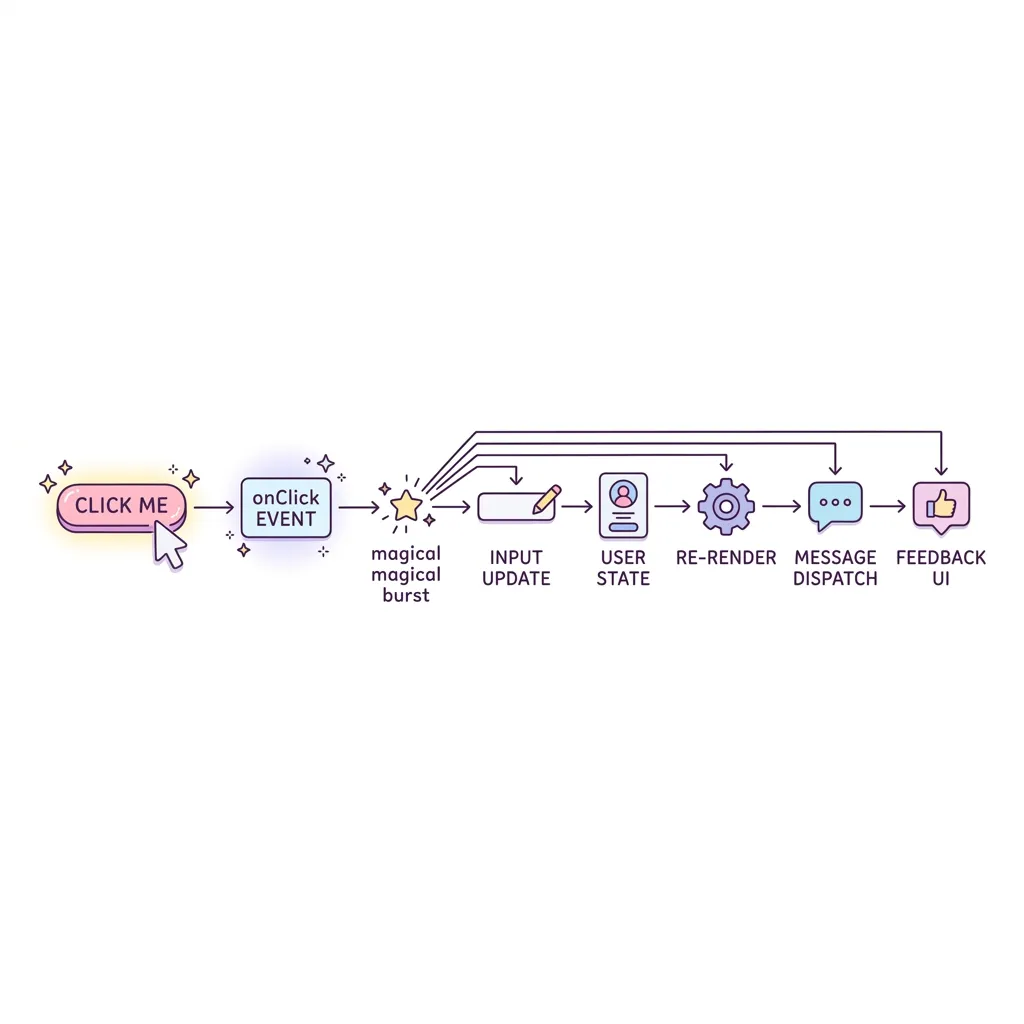
합성 이벤트(Synthetic Event) 흐름도
리액트는 각각의 버튼마다 이벤트를 달지 않습니다. 대신 최상단(Root)에서 이벤트 위임(Event Delegation) 방식으로 모든 Native Event를 가로챈 뒤, 브라우저 호환성이 완벽하게 보장되는 SyntheticEvent(합성 이벤트) 객체로 예쁘게 포장하여 우리가 작성한 컴포넌트의
onClick 핸들러 등에 전달합니다.
주의: 함수 실행문을 바로 넣지 마세요!
이벤트 핸들러를 속성으로 전달할 때, 함수 실행문(
onClick={handleClick()})을 넣으면 컴포넌트가 렌더링될 때 즉시 실행되어 무한 루프에 빠질 수 있습니다. 반드시 함수 그 자체(onClick={handleClick})를 전달하거나, 익명 화살표 함수(onClick={() => handleClick(id)}) 형태로 전달해야 합니다.
자주 쓰는 이벤트 종류
onClick: 클릭 발생 시onChange: Input 태그의 값이 변경될 때마다 (실시간 타이핑 감지)onSubmit: Form 내부의 버튼이 클릭되어 제출될 때
LoginForm.jsx
import React, { useState } from 'react';
export default function LoginForm() {
const [userId, setUserId] = useState('');
const handleInputChange = (e) => {
setUserId(e.target.value);
};
const handleSubmit = (e) => {
e.preventDefault();
alert(`로그인 시도: ${userId}`);
};
const handleSpecialClick = (msg) => {
console.log("전달받은 메시지:", msg);
};
return (
<form onSubmit={handleSubmit} style={{ padding: '20px', background: '#f8fafc', borderRadius: '8px' }}>
<label style={{ display: 'block', marginBottom: '10px' }}>
아이디:
<input
type="text"
value={userId}
onChange={handleInputChange}
placeholder="아이디를 입력하세요"
style={{ marginLeft: '10px', padding: '5px' }}
/>
</label>
<button type="submit" style={{ padding: '8px 16px', background: '#3b82f6', color: '#fff', border: 'none', borderRadius: '4px', cursor: 'pointer', marginRight: '10px' }}>로그인</button>
<button type="button" onClick={() => handleSpecialClick('비밀번호 찾기')} style={{ padding: '8px 16px', background: '#64748b', color: '#fff', border: 'none', borderRadius: '4px', cursor: 'pointer' }}>
비밀번호를 잊으셨나요?
</button>
</form>
);
}